
wordpress调用不同作者不同版权信息, 很多时候我们需要设置一下不同的作者显示不同的信息, 那么这个时候我们使用wordpress搭建的网站, 可以直接调用不同的作者显示不同的信息, 这样子就可以分辨出来是哪个作者发布的信息了.
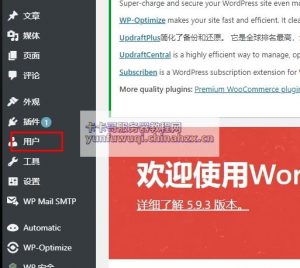
1、直接调用作者的描述, wordpress可以创建不同的作者不同的用户, 那么这个时候我们就可以设置了,

2、打开作者页面找到个人介绍其实就是作者描述, 这里按照我们要求来填写

3、我们还需要使用一个标签 <?php the_author_description(); ?> 显示文章作者的描述, 在文章页面哪里显示就粘贴到哪里即可.
1、这里就是需要使用php来判断一下, 比如我们首先获取到作者的id, 然后再显示出来.
2、当然id为1那么就显示这个信息, 为2时就显示其他的信息.
if(isset($_GET['author_name'])){
$curauth = get_userdatabylogin($author_name);
}else{
$curauth = get_userdata(intval($author));
}
上面的是显示名称, 这个只是一个思路, 简单一点的可以使用第一种方法, 直接调用即可.
这里卡卡哥整理了更多的作者表用标签, 标签均来之网络:
<?php the_author(); ?> 显示文章的作者<?php the_author_description(); ?> 显示文章作者的描述<?php the_author_login(); ?> 显示文章作者的登录名<?php the_author_firstname(); ?> 显示文章作者的firstname(名)<?php the_author_lastname(); ?> 显示文章作者的lastname(姓)<?php the_author_nickname(); ?> 显示文章作者的昵称<?php the_author_ID(); ?> 显示文章作者的ID号<?php the_author_email(); ?> 显示文章作者的电子邮箱<?php the_author_url(); ?> 显示文章作者的网站地址<?php the_author_link (); ?> 显示一个以文章作者名为链接名<?php the_author_icq(); ?> (不推荐使用) 显示文章作者的icq<?php the_author_aim(); ?> 显示文章作者的aim<?php the_author_yim(); ?> 显示文章作者的yim<?php the_author_msn(); ?> (不推荐使用) 显示文章作者的msn<?php the_author_posts(); ?> 显示文章作者已发表文章的篇数<?php the_author_posts_link(); ?> 显示文章作者已发表文章列表的链接<?php list_authors(); ?> (不推荐使用) 显示blog所有作者相关信息